Parts
 |
| Any external hard drive should work. I wrote this tutorial using a Maxtor One Touch 4. |
You could just buy the raspberry pi and plug both of them into the wall separately. If you're going to go that route you'll want to skip straight to the software setup. But for a little extra you can get all the parts to make a nice self contained system. First you'll need a raspberry pi. The best place that I found to buy them was Newark. You'll also need to pick up a DC jack, a USB hub, and an LM7805 voltage regulator. The USB hub should support self powered mode I used an inland 08817 7 Port USB 2.0 Hub but anything that supports self powered mode would work fine. The USB hub will be used to power the raspberry pi. You could just wire the raspberry pi's power connector straight to the voltage regulator and into the DC jack. Doing that is more of a pain though because the pi uses micro usb for power, and you might as well have a usb hub in case you want to expand later. Here's the list:
- raspberry pi model B (very important to get the model B)
- an LM7805 voltage regulator
- a panel mount DC jack (I picked mine up at radio shack but Newark has them online)
- a self powered USB hub (again, any self powered hub should do the job. I used the one mentioned above)
- an external hard drive (I used a Maxtor OneTouch 4 750GB that I had sitting around)
- some sort of case (we'll get to that in the next section)
- a 6 inch long ethernet cable (we use this for the back panel ethernet port(The website link goes to a 8 inch not a 6 inch... :P))
- DC power connector (more detail in step 3(find the one that works with the USB hub that you plan on getting))
- An SD card for the raspberry pi's OS
You'll also need a soldering iron, super glue, a knife or wire strippers, and some wire cutters (or scissors).
NOTE: In the pictures you will see an HDMI cable that I added. You can ignore that because I only added it so that I could plug the raspberry pi into my TV and view photos off of it if I wanted. If you want to do the same then you only have to cut another hole in the back of your case and plug the cable right into the pi.
Step 1: The case
 |
| This is the inside of the case before installing the hard drive and pi |
So the first thing you'll need to build is a case of some sort. What kind you build kind of depends on the hard drive you use. The bigger the drive the bigger your case will have to be. For my case I used plywood and just built a box. You'll want to build half the case, put the electronics in, and seal it up later. For your case you could use any material you like, even a cardboard box, but I wouldn't recommend using copper, or gold, or any other highly conductive metal, unless you want to make a Box of Death that will short out, maim and kill all your stuff... But, it would be a nice fireworks show! :P
Step 2: Cut out ports
 |
| The back view of the case with all the ports |
First you'll want to cut out the ports on the back of the case. You can just drill a hole for the DC jack if you got the panel mount kind that screws in. The ethernet cable might be a little more tricky though. I just drilled a bunch of holes with a small drill bit and chiseled and filed out the rest.
Step 3: Find power connectors
 |
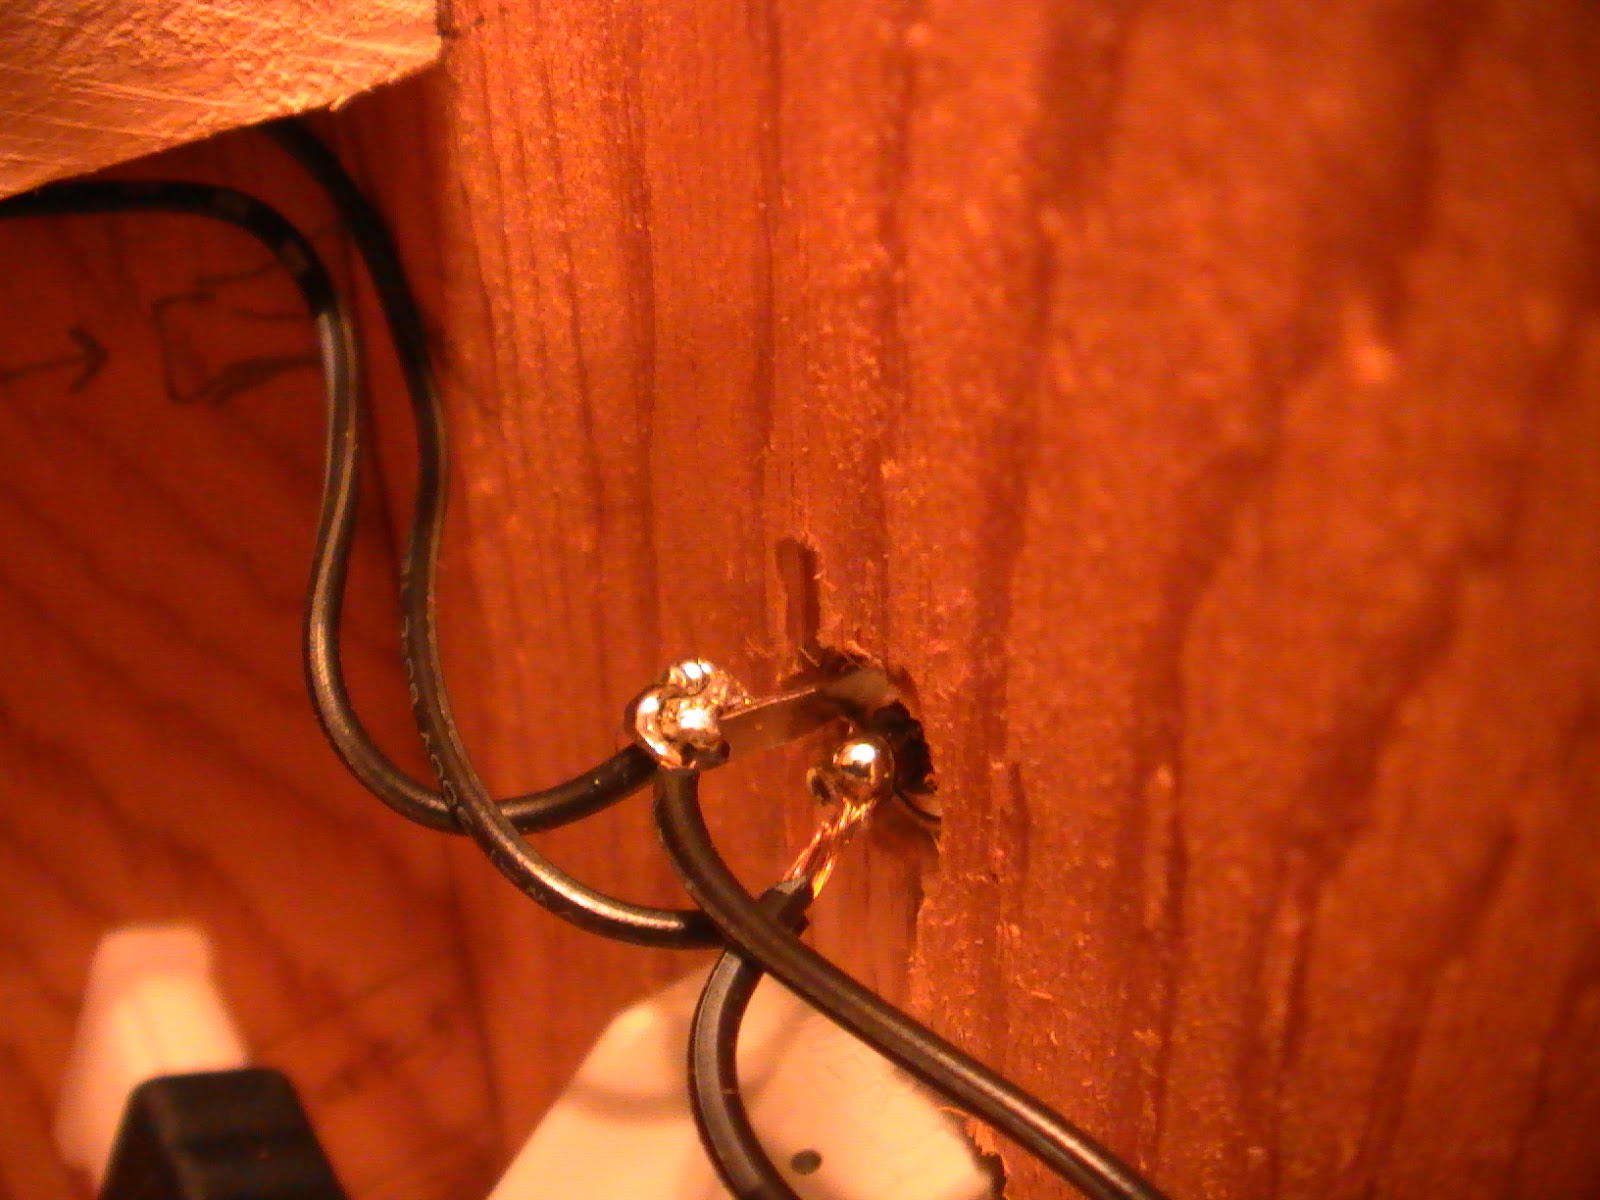
| You can see the power connector on the right. |
You'll need to get power connectors for your USB hub and your hard drive. You'll also need to be able to plug the whole thing into the wall once you're done. The power connectors will be used for wiring the USB hub and hard drive into the DC jack so that you can power them both from one socket. For these you can just use any connector from old AC adapters that fit.
You'll also need an AC adapter to plug into the wall with. I just used my hard drive's AC adapter because it fit my DC jack and it had enough power to run everything. You'll need something that puts out enough power to run the hard drive plus about 700mA for the raspberry pi (preferably 800mA).
Step 4: Wire everything
First you'll want to cut the connector off of the old AC adapter that you're going to use for the hard drive. Then you'll solder the wire end into the DC jack. You'll also want to cut a section out of wire off the adapter you'll be powering the USB hub with and solder this into the DC jack as well. Make sure to take only wire, not the power connector.

You'll then solder these wires into the input and ground pins of your LM7805 voltage regulator. After doing that, cut the connector off of the adapter and solder the wire end of it into the output and ground pins on your voltage regulator.

You'll then solder these wires into the input and ground pins of your LM7805 voltage regulator. After doing that, cut the connector off of the adapter and solder the wire end of it into the output and ground pins on your voltage regulator.
Step 5: Plug it in
Now you can test your wiring. Plug the connectors into your hard drive and your USB hub. Now plug the adapter you're using to power the entire thing into the wall and your DC jack. If you can verify that your hard drive and USB port are getting power and functioning then you're finished with all the power connections.
Step 5: Install the rest of the electronics
Unplug your NAS from the wall, because you're going to install some more electronics. The next thing to install is the raspberry pi itself. I added a little block for it to sit on to keep all the wires nice and organized, but that's up to you whether you want to add one or not. First plug in the ethernet, and micro usb power source.
Step 6: Configure the software
Next you need to configure the software. You might need to plug the raspberry pi in with it's own adapter while configuring software.
The first thing you need to do is go download the raspberry pi OS from here. Then you can use Win32DiskImager to image your SD card.
Next you'll need to set your pi to autoboot without a login prompt. I found this guide to be very helpful.

